The Cue Library
When building a show with a group of tracks, there will often be a shared set of lighting looks or presets that will be useful in more than one track. Once you have set up a cue that sends the proper messages to achieve that look, you can make it available for reuse in any track by adding it to the Cue Library. To do that, choose Add Cue to Library from the Cue context menu.
| The names that appear in the Cue Library are the names (comments) of the cues that have been added to it, so it makes sense to make sure your cue is well named before adding it to the library. |
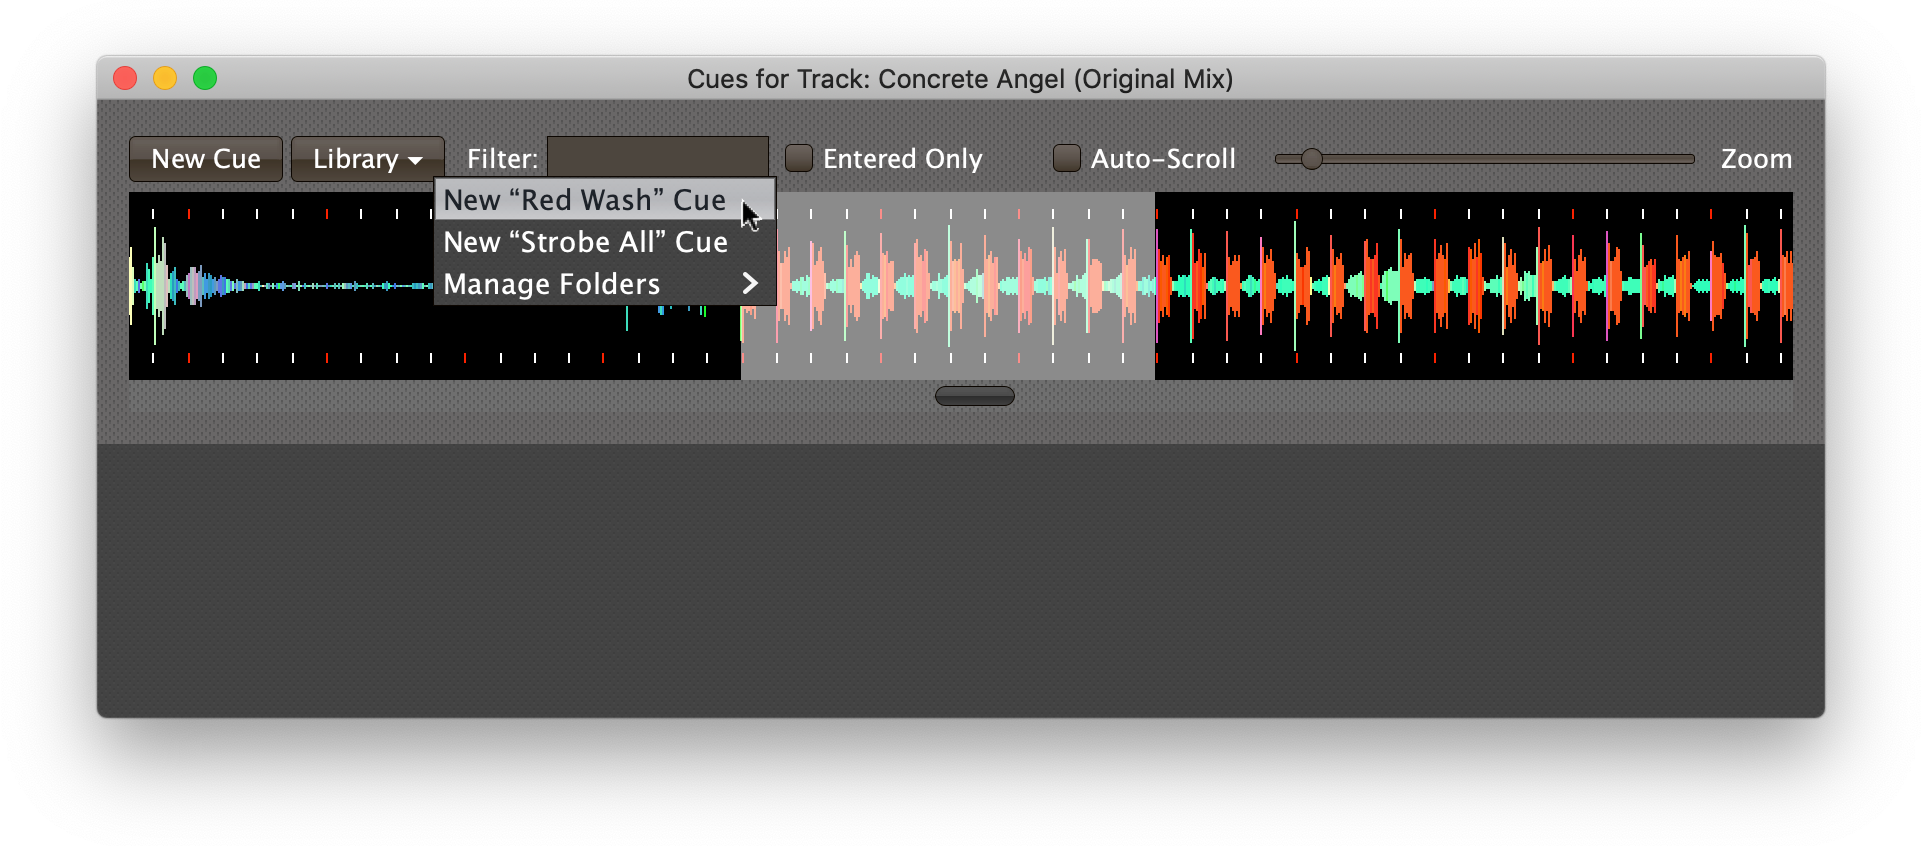
Another way to choose a cue template from the library is to right-click (or control-click) anywhere outside an existing cue in the waveform at the top of the Cue Editor window:
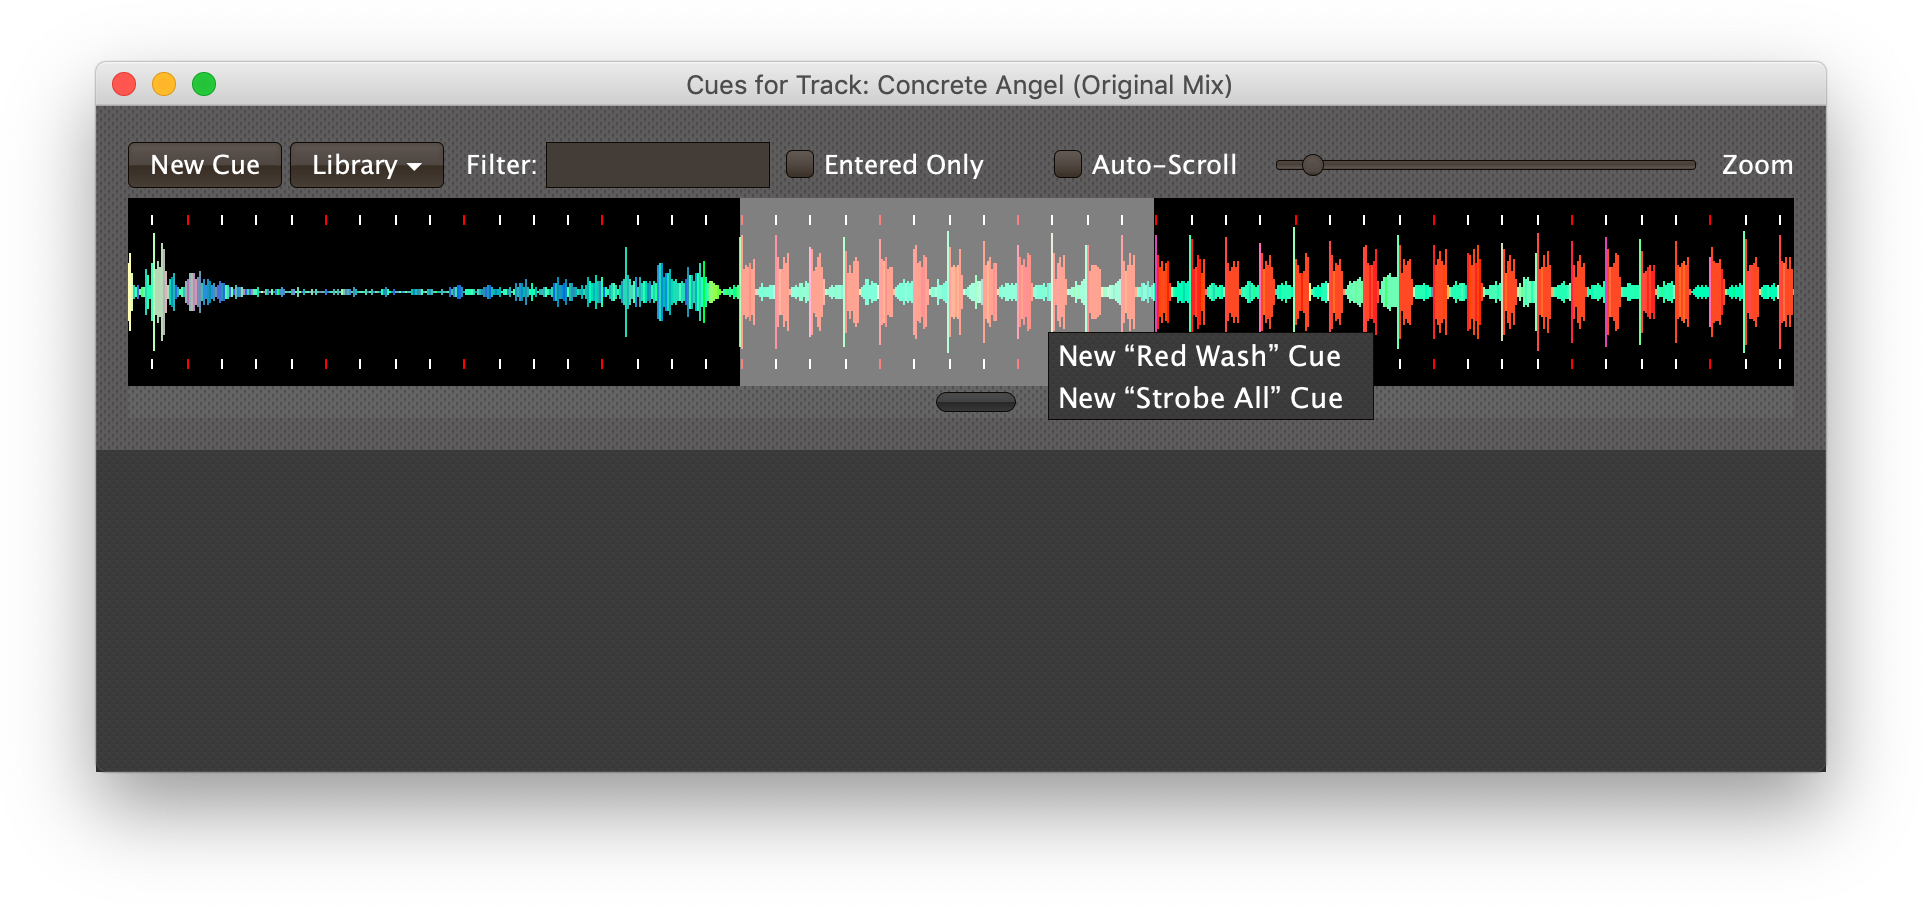
Using either of those approaches to choose New “Red Wash” Cue in the menu would result in the creation of a cue based on that template in the selected region of the track:
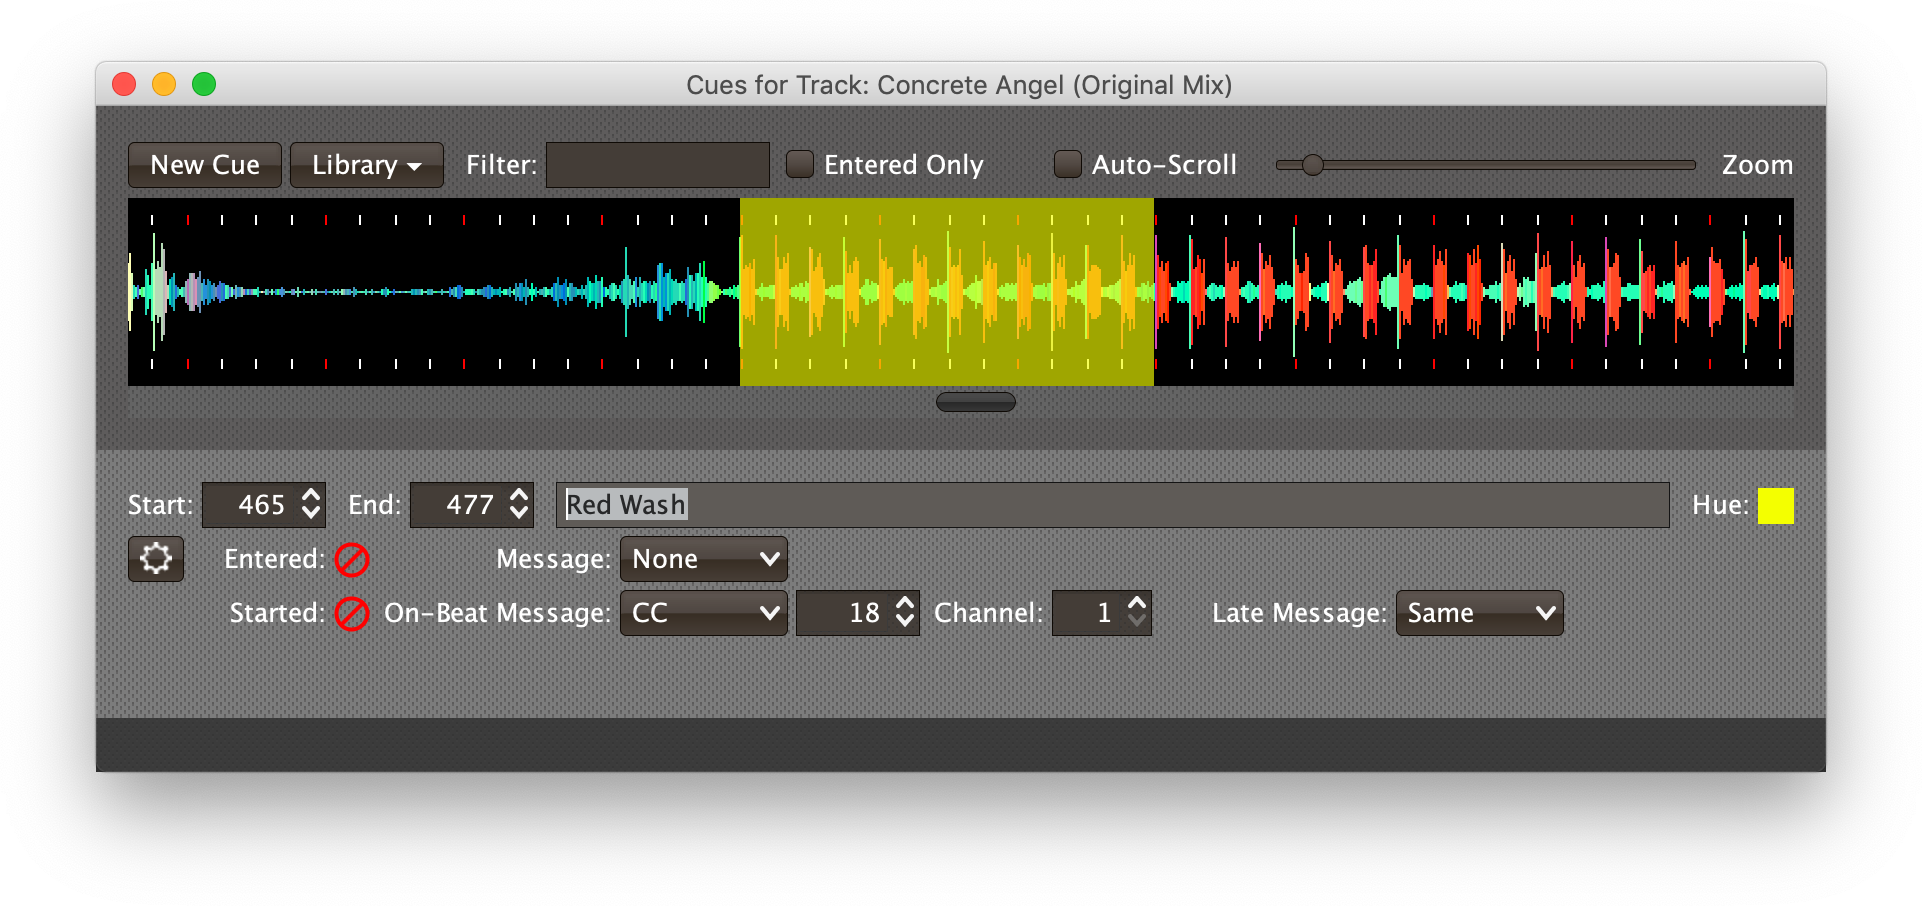
The new cue will share any of the MIDI message configurations and Expressions that were present in the cue that was added to the show library.
Updating the Library
If you already have a cue in the library, you can update its content by changing the cue that it was based on, and then using the cue context menu again. When there is already a cue with a particular name in the library, instead of seeing Add Cue to Library, the option will read Update Cue in Library. Choosing that will replace the cue template with the MIDI and Expression settings of the current cue. (This will not change any cues that you already created based on the template, but it will change any future cues you create from it.)
If the current cue has exactly the same content as the cue of the same name in the library (ignoring incidental details like its position in the track or displayed hue), the menu option will read Remove Cue from Library, and choosing it will do just that.
Cue Library Folders
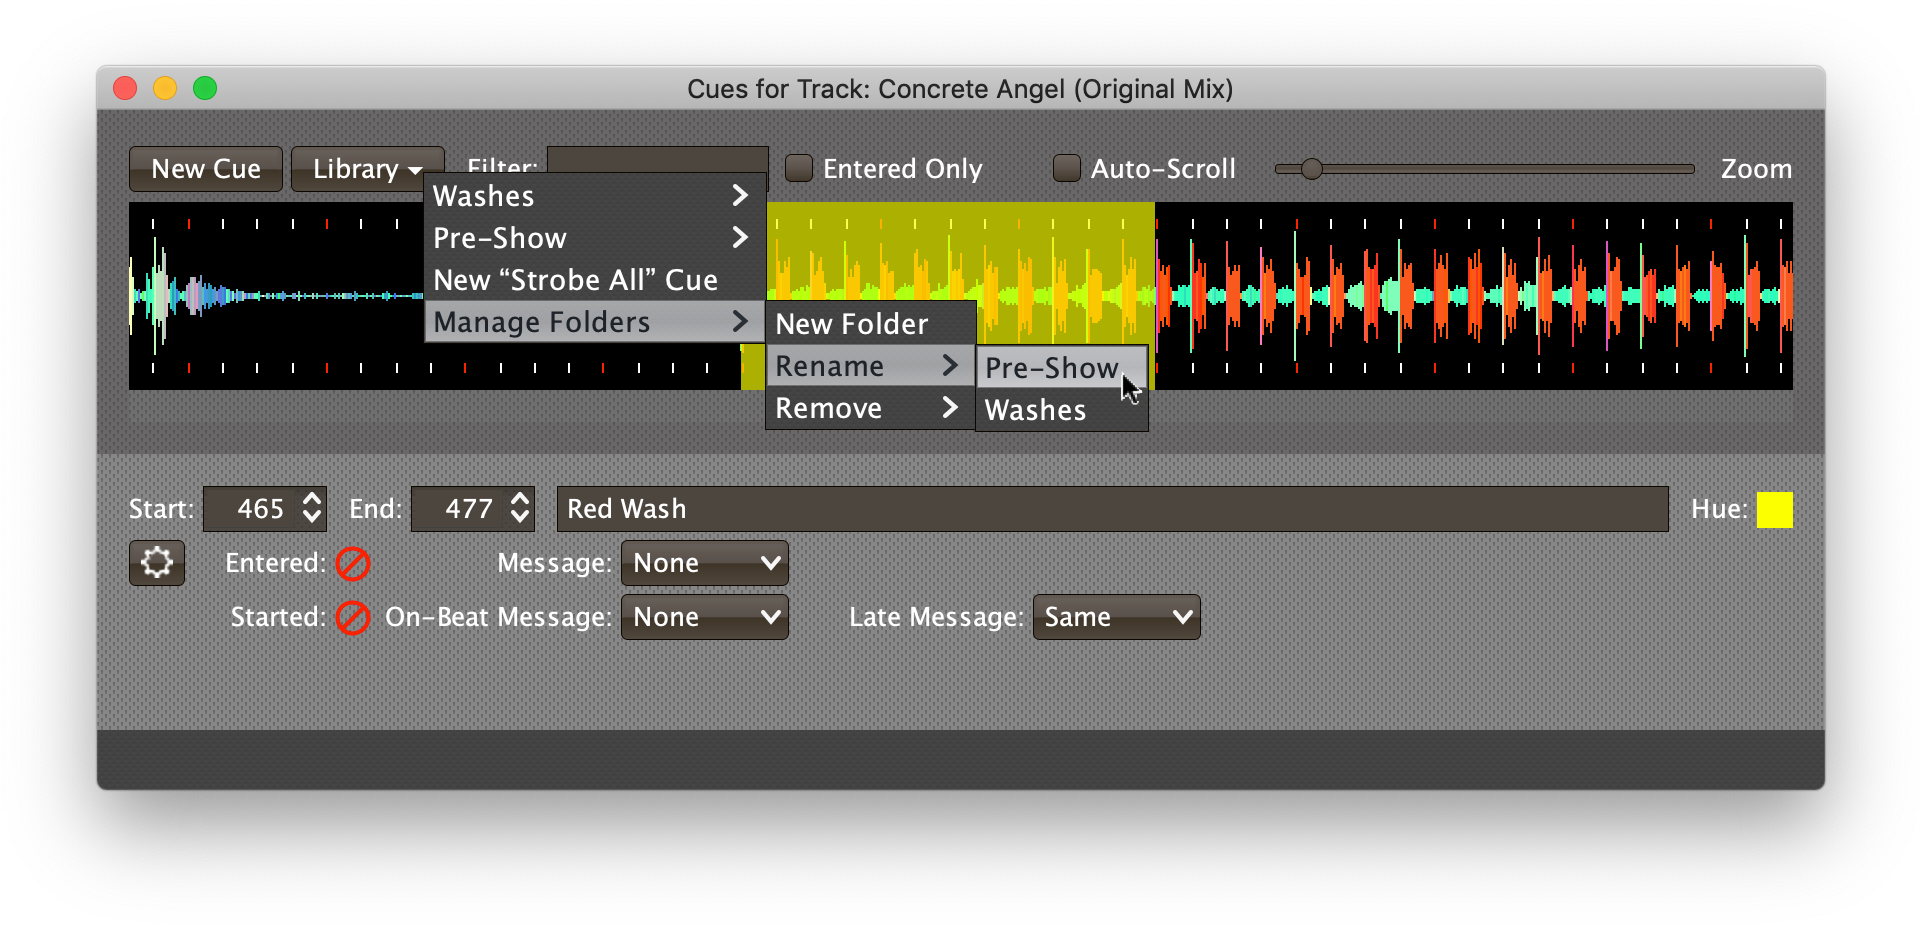
If you collect a large number of cues in your library, the menu can get inconveniently large and make it hard to find the cue you are looking for. You can avoid that problem by organizing your cues into folders. At the bottom of the Library button menu there is a Manage Folders submenu.
When you have no folders, the only option in that menu is New Folder. Choosing it opens up a dialog in which you can enter the name of the folder you would like to create:
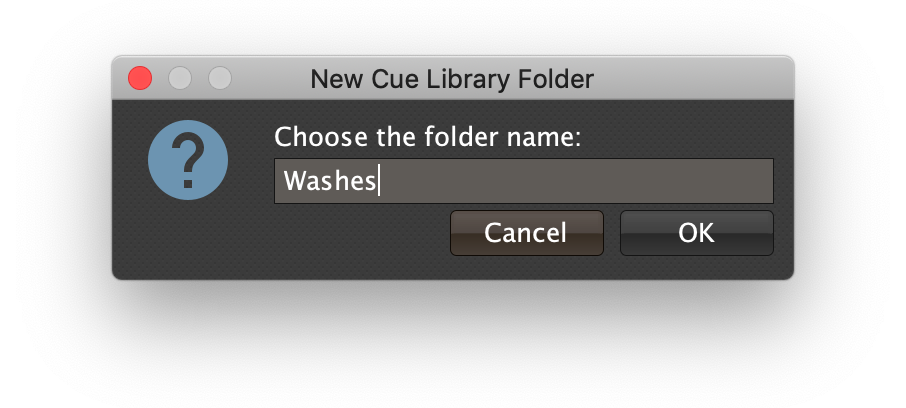
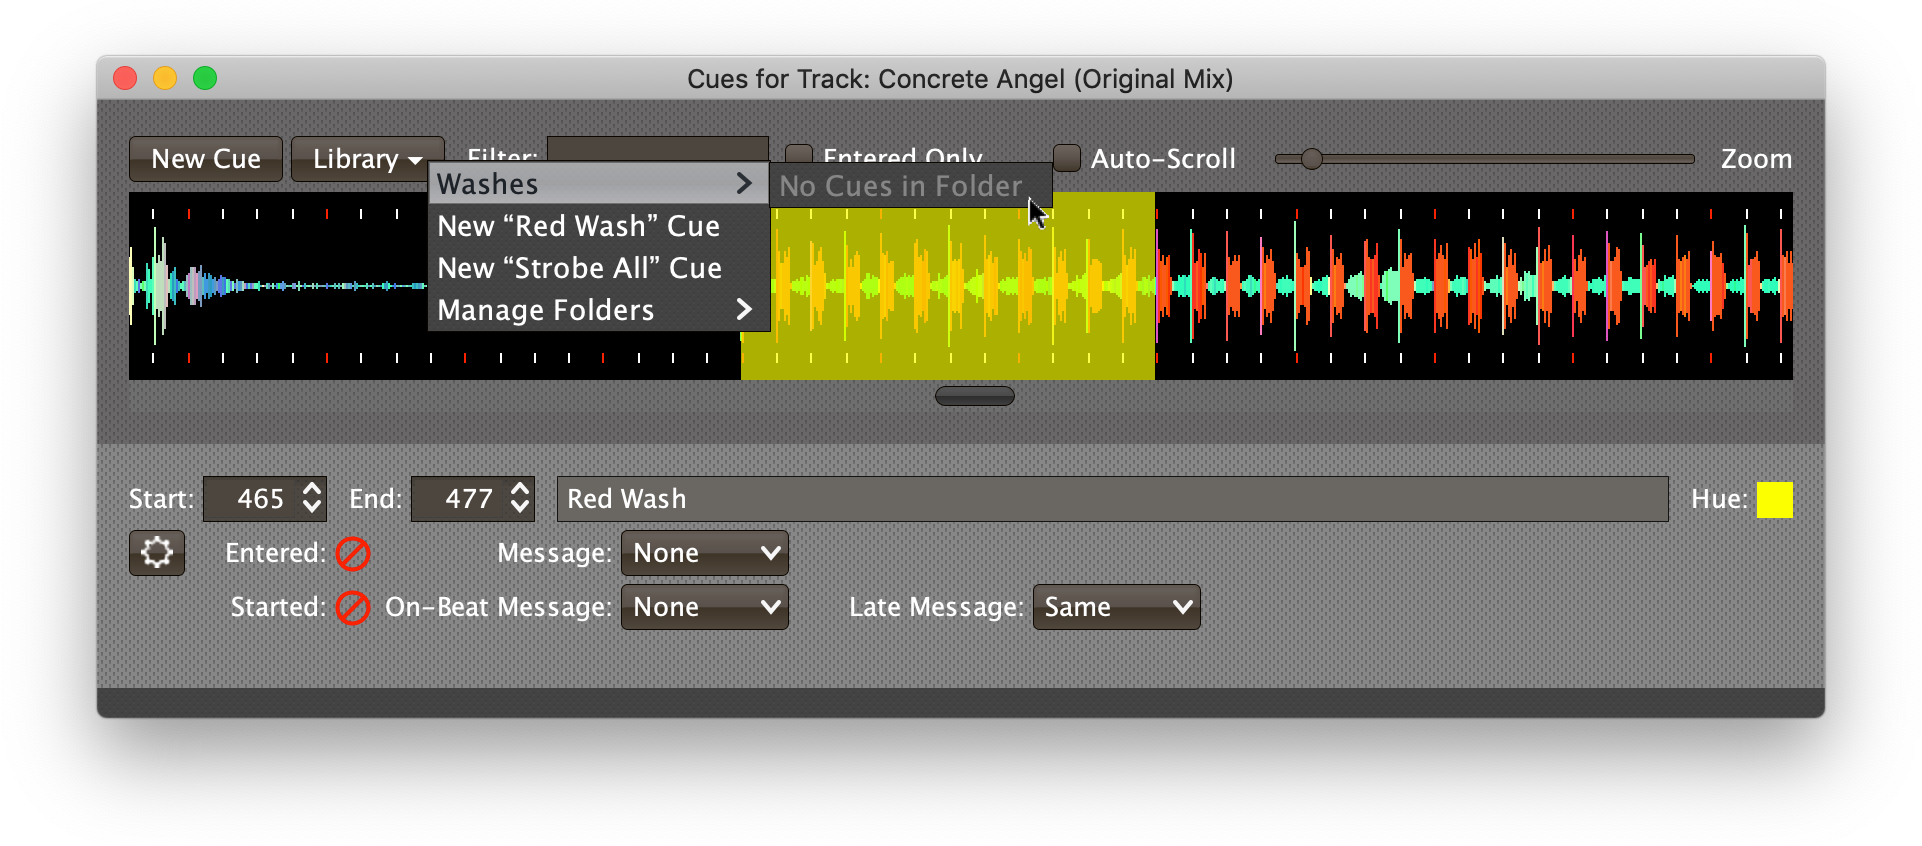
As soon as you have created a folder, the menus for choosing library cues (both in the Library button and in the waveform context menu) expand to show all the folders as submenus before the non-folder cues:
The context menu option for adding a cue to the library also transforms into a submenu allowing you to choose whether you want to add it to a folder or to the top level of the library.
| If you have existing cues in the library that you would like to move into folders, follow the steps described above to remove them from the library and re-add them into the desired folder. |
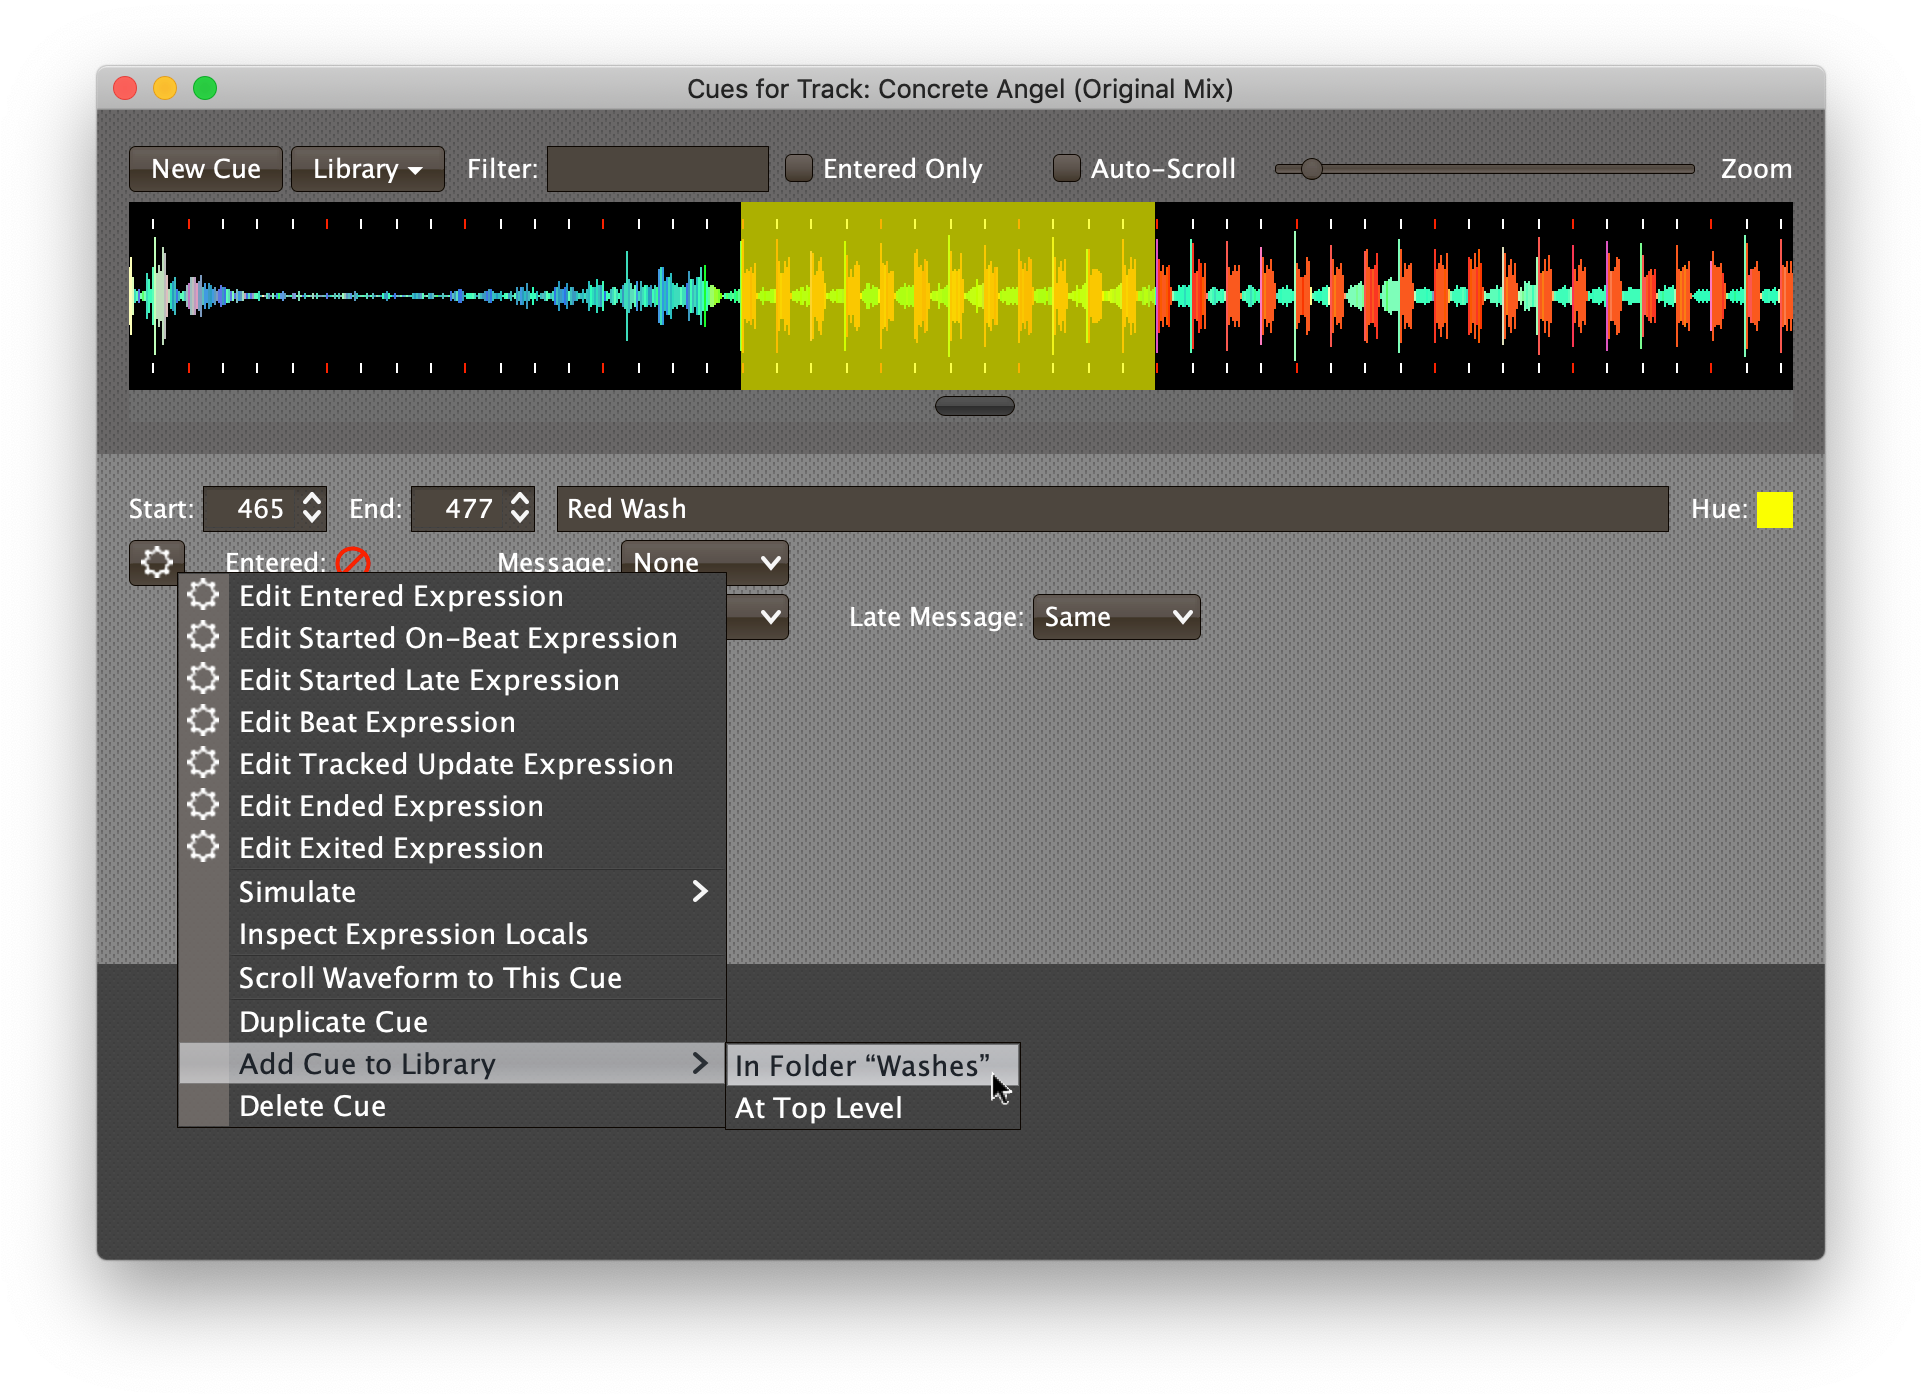
Once you have organized your cues into folders, finding and picking them out of the appropriate submenu can be easier and faster than scrolling through a single giant menu.
Once you have folders, the Manage Folders menu also allows you to rename or remove them. Removing a folder moves any cues you placed inside it back to the top level of the cue library.
